I built this project to turn a compact ESP8266 board into a reliable Wi-Fi weather station that could measure temperature and humidity, publish the data online, and log it over time. It was a small embedded system, but it covered the same core ideas that matter in IoT work: sensor integration, wireless telemetry, cloud connectivity, and dependable deployment.
System overview
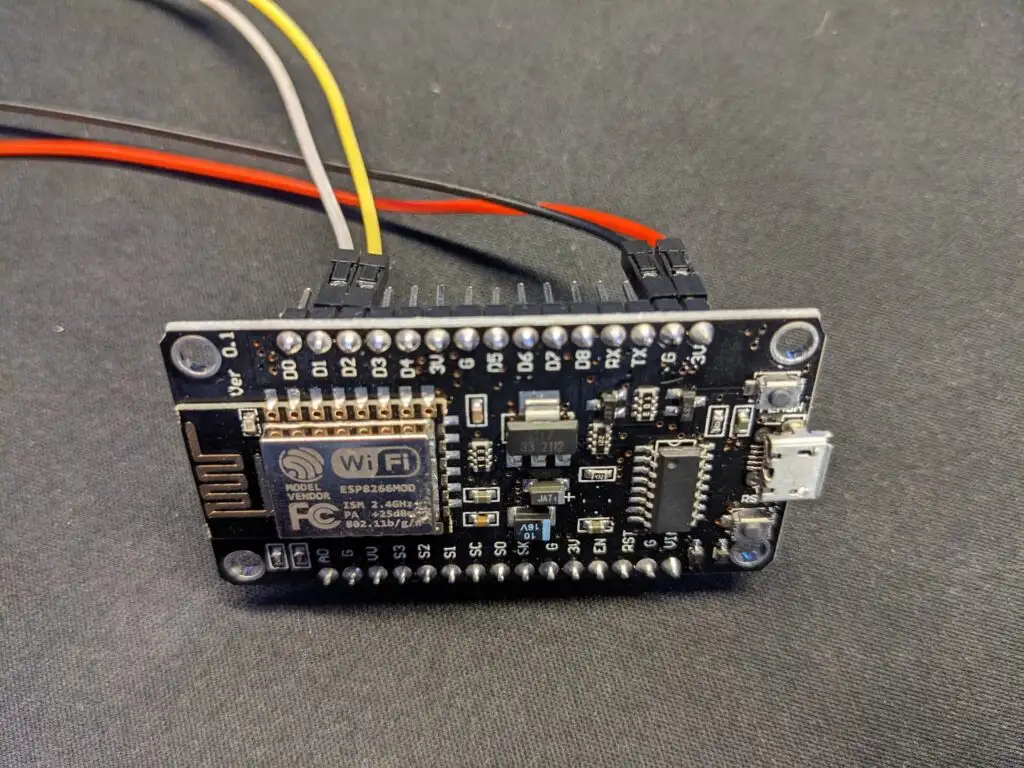
The station is built around three main pieces:
- ESP8266 development board — Handles sensor reads and Wi-Fi communication
- AM2315 temperature and humidity sensor — Outdoor-friendly probe for environmental measurements
- Adafruit IO — Cloud platform for live dashboards and historical logging
The main goal was to keep the system simple while still making it reliable enough to run unattended.
Hardware design
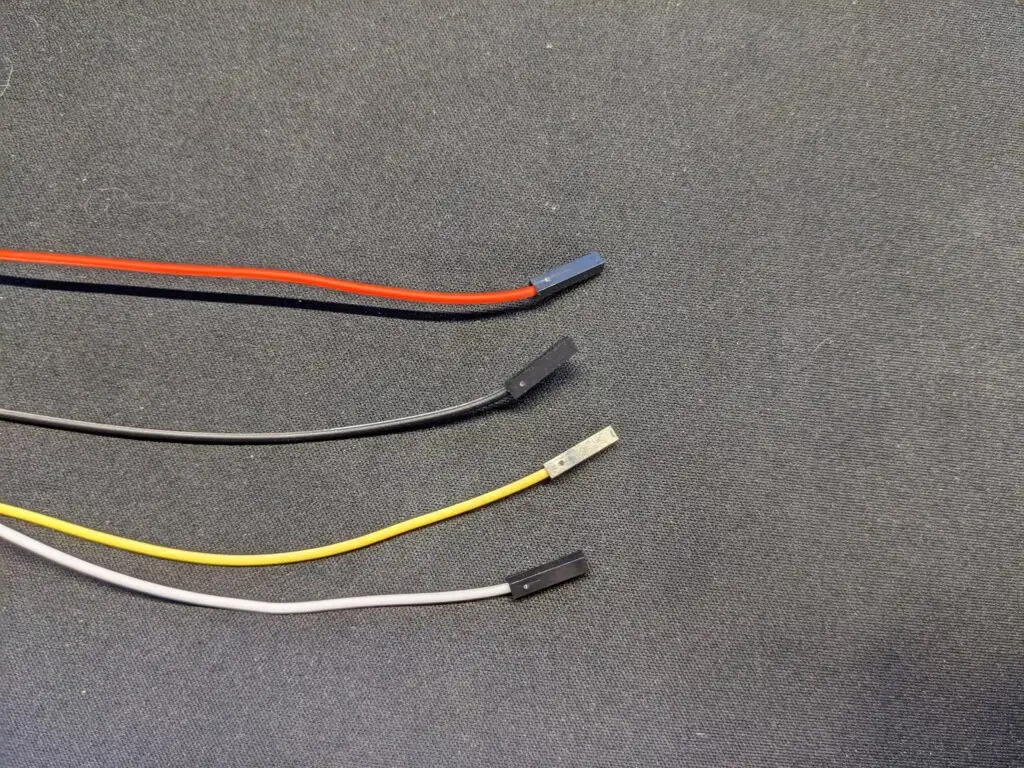
The AM2315 uses a simple 4-wire connection, which kept the hardware side easy to build and troubleshoot:
- 3.3V for power
- GND for ground
- Data for sensor communication
- Clock for the sensor interface
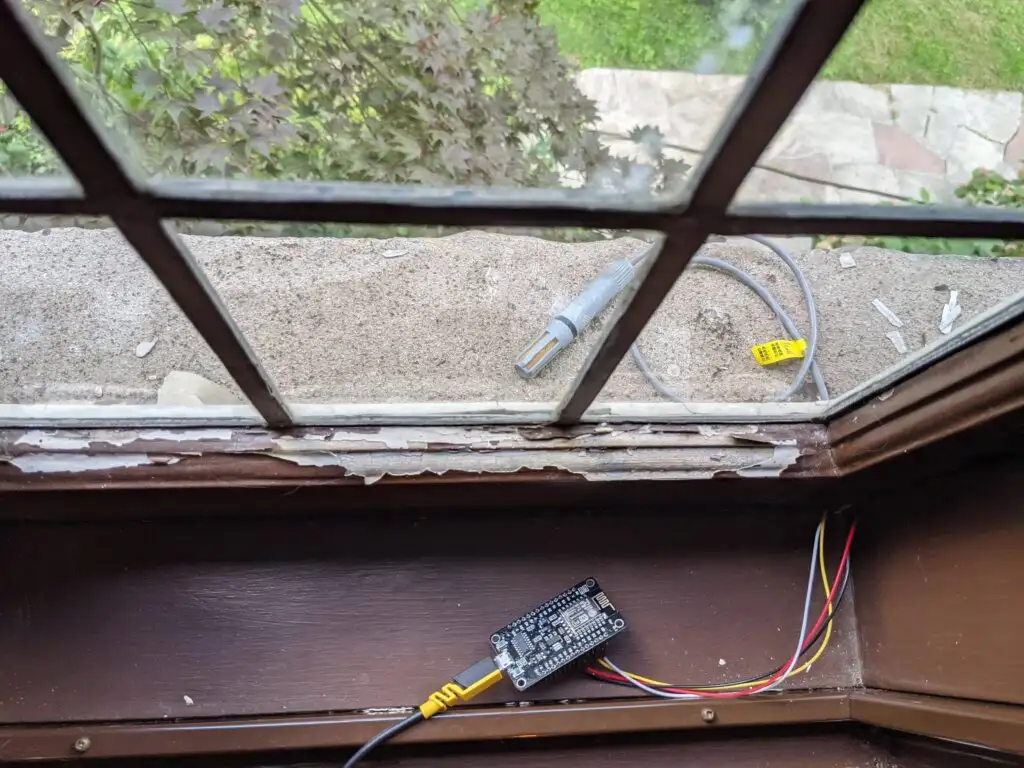
Using a water-resistant probe made the setup more practical than a bare sensor board, and it let the electronics stay indoors while the probe could measure ambient air near the window.
Firmware and data flow
The firmware runs on the ESP8266 and handles sensor reads, Wi-Fi connection, and data transmission to Adafruit IO. From there, the data can be monitored in dashboards or used for historical charts.
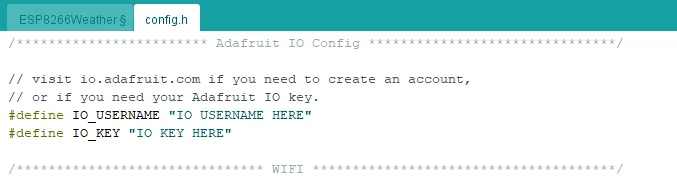
The code is split into two parts:
- ESP8266Weather.ino — Sensor reading and network transmission
- config.h — Wi-Fi credentials and Adafruit IO authentication
Cloud logging and visualization
One of the most useful parts of the project was seeing the readings appear live in Adafruit IO. I set up separate feeds for temperature and humidity so each signal could be plotted independently and monitored over time.
- Temperature_AM2315
- Humidity_AM2315
This made the project feel much more like a real connected system instead of just a microcontroller reading a sensor.
Deployment
Once the firmware was working, the setup was easy to deploy:
- Connect the ESP8266 over USB
- Upload the firmware from Arduino IDE
- Power it from USB
- Leave the sensor probe positioned where it can read ambient conditions
What made it worth building
This project was a good example of how a small embedded system can become genuinely useful when the hardware, firmware, and cloud pieces are tied together cleanly. It introduced me to the practical side of IoT development: sensor wiring, network reliability, data formatting, and building something that can run unattended.