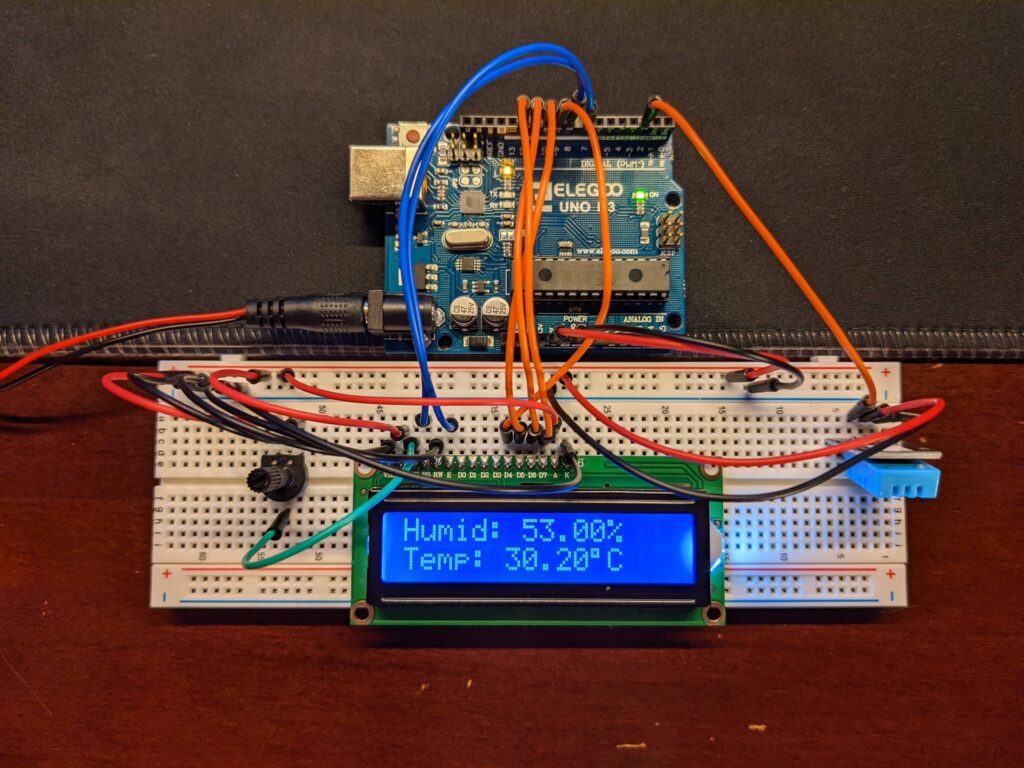
Overview
A couple days ago I saw some really cool Arduino projects on reddit and decided to get myself an Arduino kit. After trying out all the sensors included I got the idea to make my own weather station with the help of an LCD, a DHT11 temperature and humidity sensor, and an Arduino Uno.
Components
- Arduino Uno — The brain of the project
- 16×2 LCD — Displays temperature and humidity readings
- DHT11 sensor — Measures temperature and humidity
- 10kΩ potentiometer — Adjusts LCD contrast
- Breadboard & jumper wires — For connections
Wiring
LCD Connections
| LCD pin | Arduino pin |
|---|---|
| VSS | GND |
| RW | GND |
| K | GND |
| RS | 7 |
| E | 8 |
| D4 | 9 |
| D5 | 10 |
| D6 | 11 |
| D7 | 12 |
| VDD | 5V |
| A (backlight) | 5V |
Potentiometer: Place across breadboard halves. Two outer pins → GND and 5V. Middle pin → LCD V0 (contrast).
DHT11: Left pin → Arduino pin 2. Middle pin → 5V. Right pin → GND.
Code
#include "DHT.h"
#include <LiquidCrystal.h>

#define DHTPIN 2
#define DHTTYPE DHT11

DHT dht(DHTPIN, DHTTYPE);
LiquidCrystal lcd(7, 8, 9, 10, 11, 12);

void setup() {
  dht.begin();
  lcd.begin(16, 2);
}

void loop() {
  delay(500);
  float h = dht.readHumidity();
  float t = dht.readTemperature();

  lcd.print("Humid: ");
  lcd.print(h);
  lcd.print("%");
  lcd.setCursor(0, 1);
  lcd.print("Temp: ");
  lcd.print(t);
  lcd.print((char)223);
  lcd.print("C");
  delay(2000);
  lcd.clear();
}
Finished Product
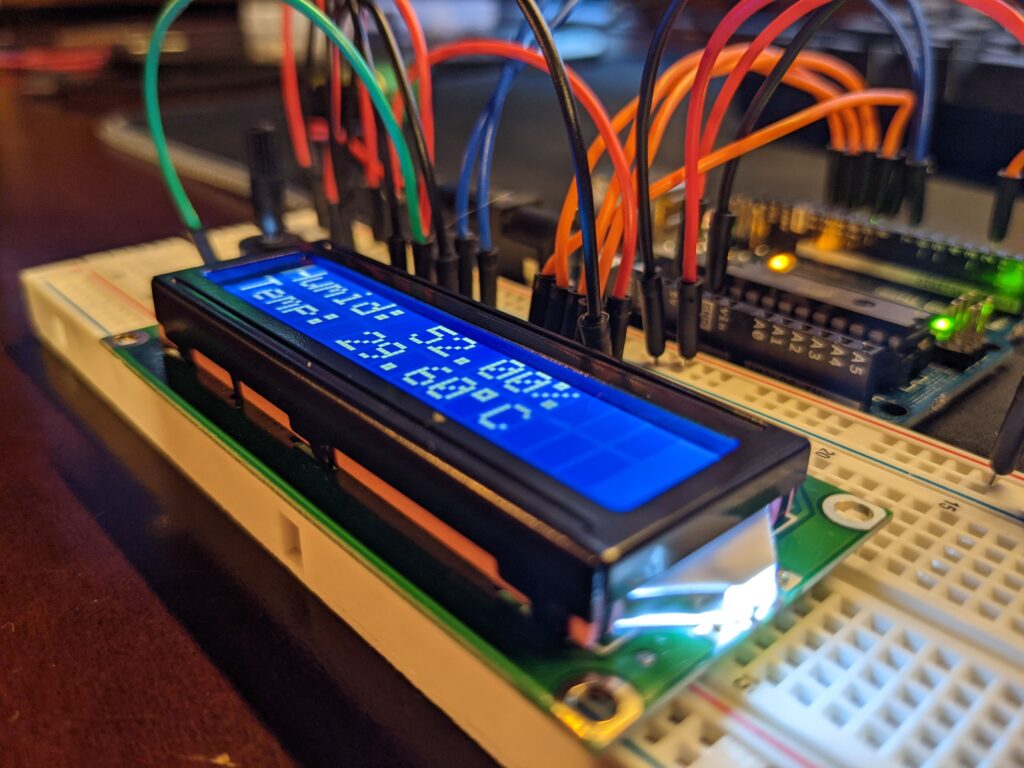
The LCD shows Humidity (%) and Temperature (°C) readings, which are described as accurate.
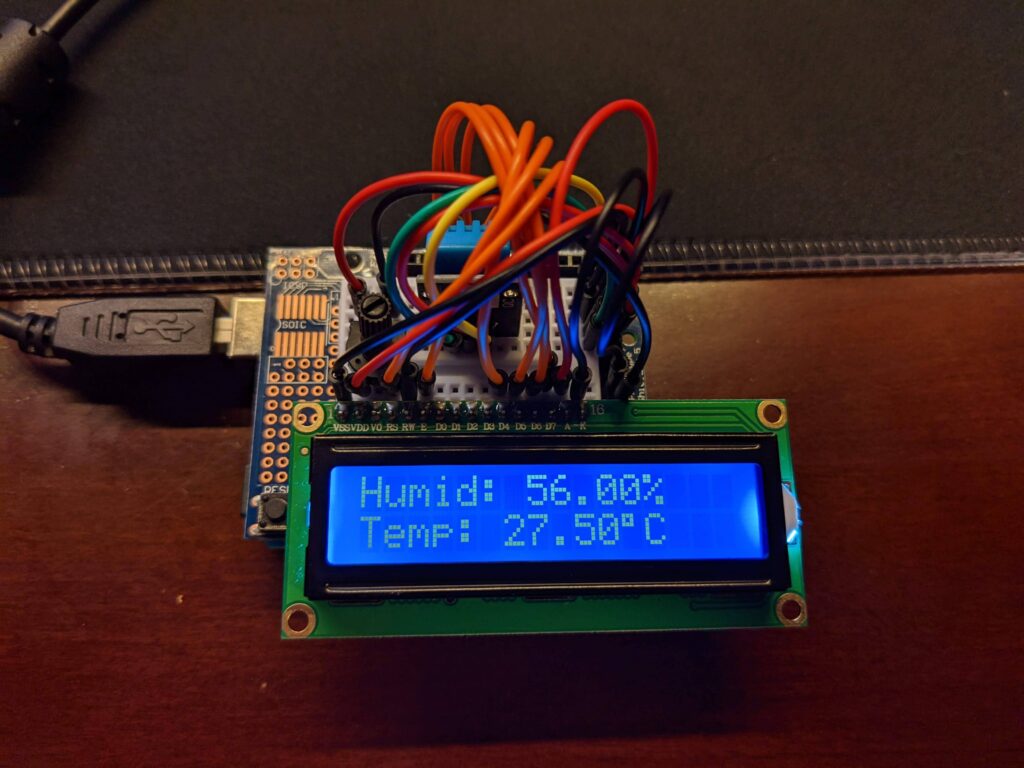
Optional: Mini Version
Built on a tiny breadboard fitted onto a prototyping shield — same wiring but much tighter layout. The advantage is portability: carry only the Arduino and a battery.
Related Projects
- IoT ESP8266 Weather Station — The Wi-Fi connected upgrade